Premium
Sign up to watch Setup Tab in Waves LV1 and gain access to 500+ more Premium MxU videos.
Team
$99 .95
Per month, billed monthly.
For worship & tech teams
$83 .29
Per month, billed yearly.
For worship & tech teams
- Full course & video library
- Add your team
- Assign training
- Automated training workflows
- Create your own courses & videos
- Multi-campus support
- Organize with groups
Solo
$19 .95
Per month, billed monthly.
Just you, full content library
$16 .63
Per month, billed yearly.
Just you, full content library
- 889+ training videos
- Full course & video library
- Add your team
- Workflows, assignments, create courses & videos
More Premium Videos


6:22


7:31


10:00


12:20


3:37
Setup Tab in Waves LV1
No actions available
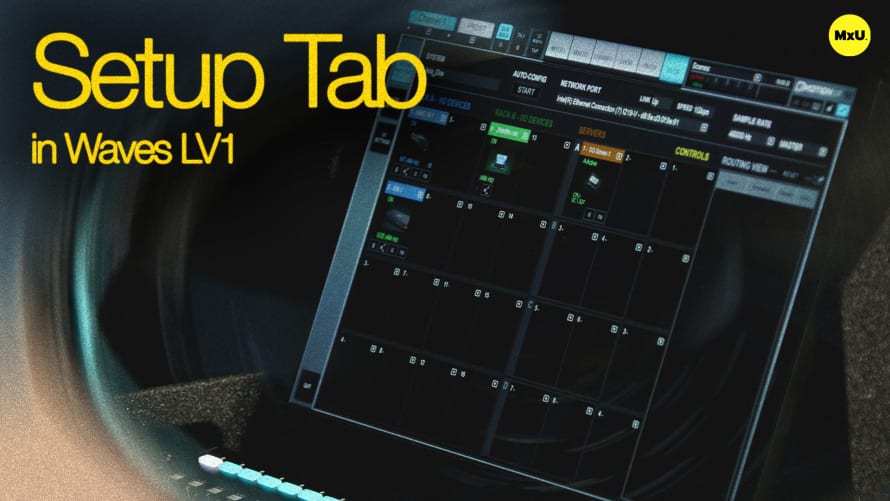
LV1 has many functions and it’s key to set it up correctly up front. Jeff explains the setup menu and how to connect and set up hardware, networks, and user preferences. Doing these things first will optimize your mixing experience.
First Steps
When you launch LV1 for the first time, it will open with an empty session. There will be no system inventory or patched configurations. The first step is to head to the setup menu and start configuring your system.
- Ensure the software recognizes the network connection. This is crucial. The network port dropdown in the setup menu should show an active link and proper speed
- Identify and configure I/O devices on the network. Set master clock source.
External Computers
To use audio with external computers, users must ensure the computer is on the network and has the SoundGrid driver installed. External computers can be used for audio in/out. The LV1 system can also support multiple servers, enabling server sharing and redundancy. The setup menu allows users to identify their servers and configure them for the best plugin processing.
Mixer Preferences
The mixer settings are found under the setup tab. These settings allow you to customize various elements including latency optimization and output latency. You can also set up auto-save preferences and lock settings for newer members of the team.
UI Settings
Control the input and output metering, clip thresholds, and display scaling. These preferences help tailor the LV1 interface to your individual needs and usage scenarios.
User Assignable Keys
The setup menu provides 16 user-assignable keys. These provide quick access to often-used functions. This could include saving sessions, recalling scenes, muting channels, and more.
Categories
Audio
101
Premium Videos
Nothing added