Editing Cues in Vista
Sign up to watch Editing Cues in Vista and gain access to 500+ more Premium MxU videos.
Team
$99 .95
Per month, billed monthly.
For worship & tech teams
$83 .29
Per month, billed yearly.
For worship & tech teams
- Full course & video library
- Add your team
- Assign training
- Automated training workflows
- Create your own courses & videos
- Multi-campus support
- Organize with groups
Solo
$19 .95
Per month, billed monthly.
Just you, full content library
$16 .63
Per month, billed yearly.
Just you, full content library
- 889+ training videos
- Full course & video library
- Add your team
- Workflows, assignments, create courses & videos
More Premium Videos
Editing cues in Vista is made easy using the edit function, store part, and the concept of merging information into cues. Additionally, Tony highlights how tracking works within cue lists, providing a visual representation of cue information in the timeline.
Editing Cues in Vista
Editing cues allows you to refine your lighting setups by making adjustments.
- Accessing Cues: Bring up your cue list by selecting it on the fader and hitting play to see the current output.
- Adding New Elements: Add elements like gobos, colors, or patterns to existing cues as needed.
Using the Edit Function
The edit function provides a straightforward way to modify cues directly.
- Opening the Edit Menu: Press the edit button (or F3) and navigate to the playing cue list, selecting the cue you wish to edit.
- Making Edits: Add or change elements within the cue, such as adding a gobo pattern to Cue 1.
Saving and Closing Edits
Finalize changes and determine how to save your work within the cue list.
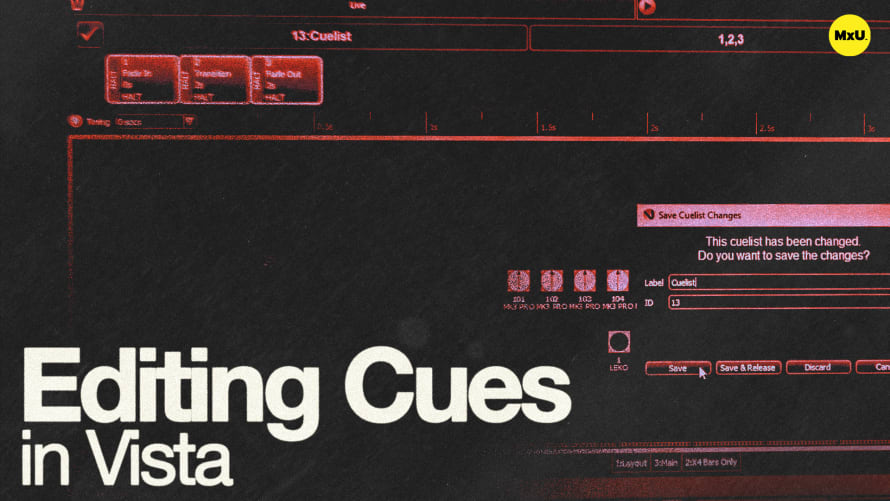
- Save Options: Choose to save, save and release, discard changes, or cancel to continue editing.
- Maintaining Output: Saving without releasing keeps the stage state active, while save and release returns lights to black.
Editing with Store Part
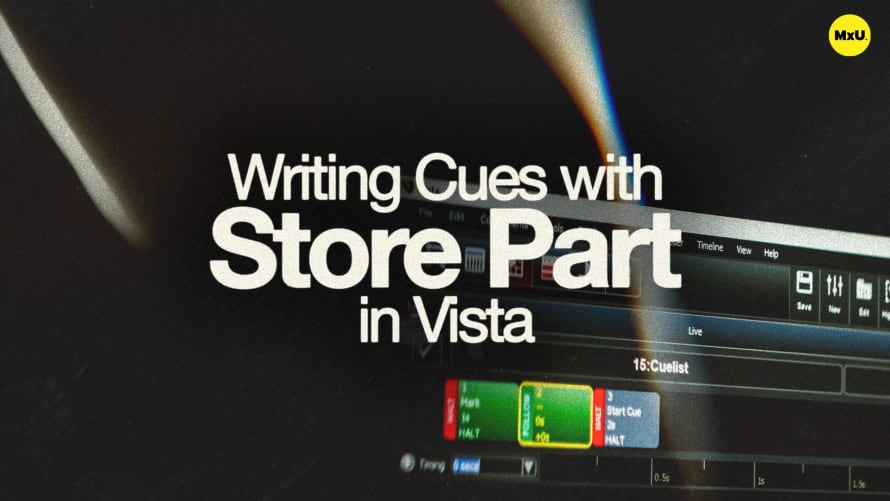
Store Part offers another method to merge changes into existing cues without overwriting them.
- Adjusting Colors and Effects: Select fixtures, apply changes (e.g., color and zoom), and use Store Part to integrate these into a cue.
- Selecting Cue for Merge: Choose the desired cue from the cue list to merge new information, preserving existing settings.
Understanding Merge vs. Replace
Tony explains the difference between merging and replacing information within cues.
- Merge: Incorporates new information into a cue without overwriting existing data, maintaining previous elements.
- Replace: Overwrites cue data with new information, removing previous settings (not used in this scenario).
Courses
Categories
Lighting
101
Premium Videos
Nothing added

