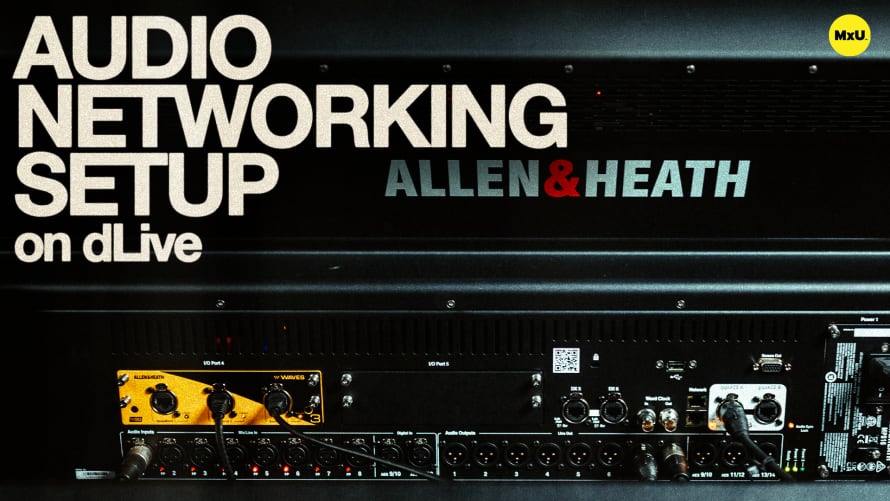
Audio Networking Setup on dLive

Continue watching
Sign up to continue watching Audio Networking Setup on dLive
Pricing
Starting at $19.95 /mo
More in MxU
Michael provides a detailed guide on the physical setup and connectivity of the Allen & Heath dLive series of consoles. This includes connecting the console to stage boxes, integrating personal mixers, and configuring expansion cards. He also explains how to test the system using pink noise and monitor connection status ensuring the entire setup is functional and ready for mixing.
Powering the Console
The power connection for the dLive console is located on the back left. Since the console is just a control surface, it must be connected to a stage box to function properly. Once connected via the GigaACE ports, you can select the appropriate mix rack to begin operation.
Stage Boxes and Expansion Cards
To connect multiple surfaces or add expansion cards, use the GigaACE card slots. Ensure the console is powered down before installing. Personal monitor mixers, like the ME-1 or ME-500, can be connected via a network switch, with power provided over Ethernet (PoE) if available.
Redundancy and External Devices
Certain ports, such as DX2 and DX4, are reserved for redundancy. When connecting expansion I/O devices, ensure they are properly connected to the correct DX ports. External controllers like the IP8 can be integrated into the system, and a Wi-Fi router can be added for wireless control.
Setting Up and Testing Audio
To verify the setup, use the signal generator feature to send pink noise through the system, ensuring all audio paths are correct. This helps confirm that channels are routed properly and that stereo or multi-channel setups are working as intended.
Troubleshooting Connections
The status page provides an overview of all connected devices, displaying any issues with connections or sync problems. If a device disconnects or encounters a sync error, alerts will appear, guiding you to the source of the problem for troubleshooting.

