Vista Software Overview
Sign up to watch Vista Software Overview and gain access to 500+ more Premium MxU videos.
Team
$99 .95
Per month, billed monthly.
For worship & tech teams
$83 .29
Per month, billed yearly.
For worship & tech teams
Solo
$19 .95
Per month, billed monthly.
Just you, full content library
$16 .63
Per month, billed yearly.
Just you, full content library
More Premium Videos

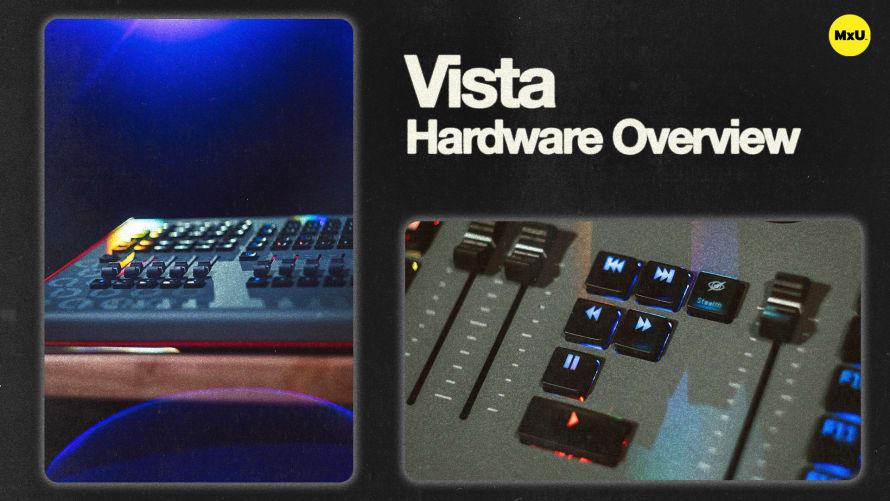


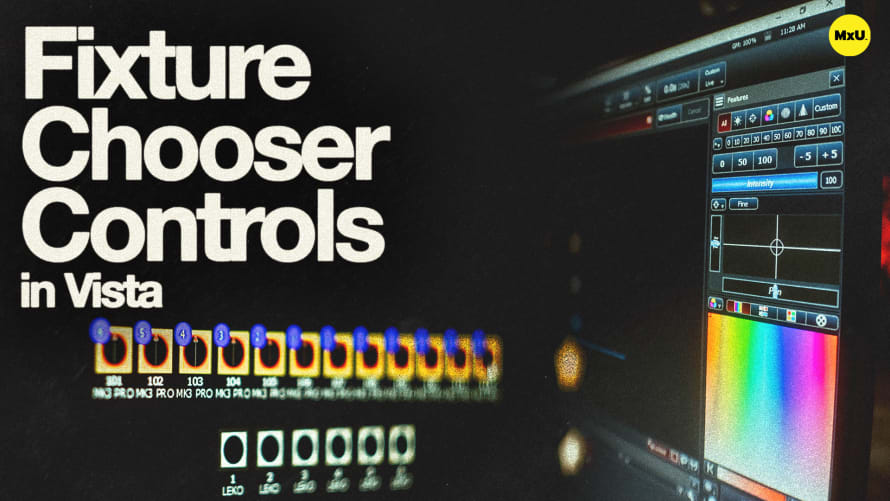

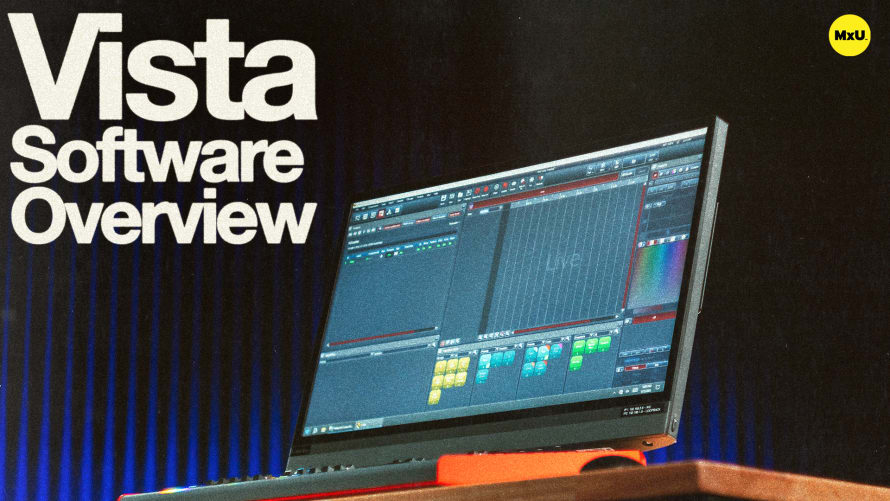
Vista by ChromaQ is a powerful lighting software designed with customization in mind. Vista has six main tabs used to configure your setup. From user-configurable buttons to Vista’s unique color-coded keys, the entire system is designed to be user-friendly and offer the most flexibility. Tony also touches on sorting, fanning options, live timing adjustments, and the importance of the Grand Master output settings.
Vista Software Overview
The Vista software interface consists of six primary tabs, each offering essential functionalities.
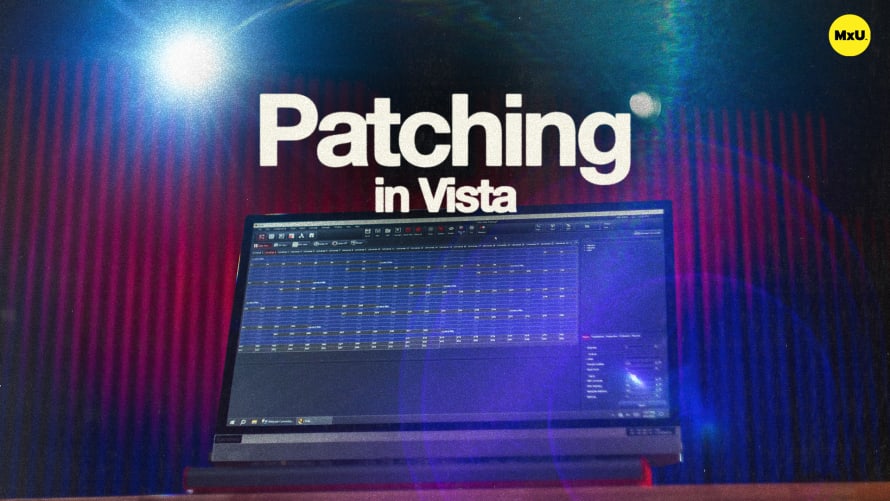
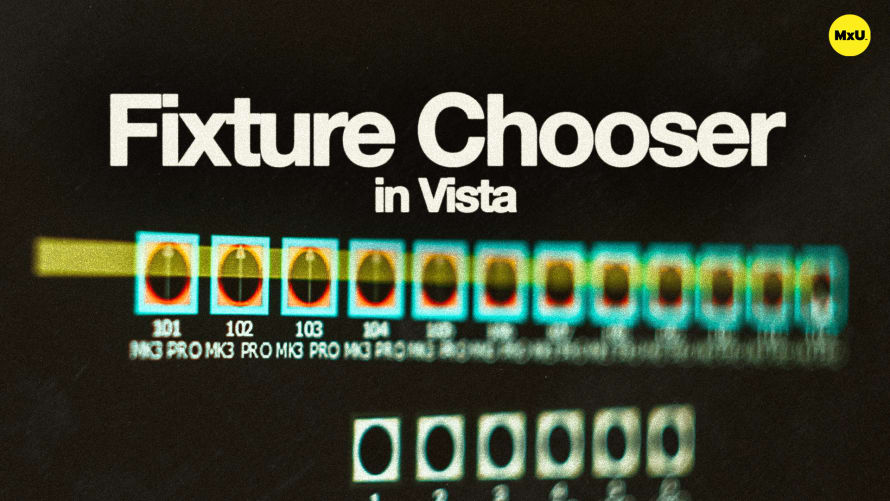
- Patch Tab: Allows users to patch fixtures and set DMX options, serving as the starting point for configuring your setup.
- Console View Tab: Used for configuring hardware, ensuring seamless integration with your equipment.
- Programming View Tab: Enables precise control over fixtures, allowing for detailed adjustments.
Advanced Functionality with the Timeline and Cue List
Vista's software includes advanced tools for managing timing and playback.
- Timeline View Tab: Offers exclusive timeline functionality to manipulate timing for intricate show control.
- Cue List Tab: Displays your cues and currently playing playbacks for easy monitoring.
User Configurable Buttons and Color-Coded Keys
Along the top of the screen are ten user-configurable buttons and unique color-coded keys. These keys enable access to up to 40 configurable buttons, maximizing control options.
- User Configurable Buttons: Pre-configured buttons that can be manipulated to access different views by holding specific keys.
-
Color-Coded Keys:
- Red: Acts as a shift key.
- Yellow: Functions as the control key.
- Green: Serves as the alt key.
- Blue: Combines control and alt functionalities.
Grand Master Output
To ensure visibility on stage, monitor the Grand Master output at the top of the window.
- Grand Master Output: Ensure it's set to 100%. If you're experiencing issues, checking this setting can resolve visibility problems.
Courses
Categories
Lighting
101
Premium Videos
Nothing added