
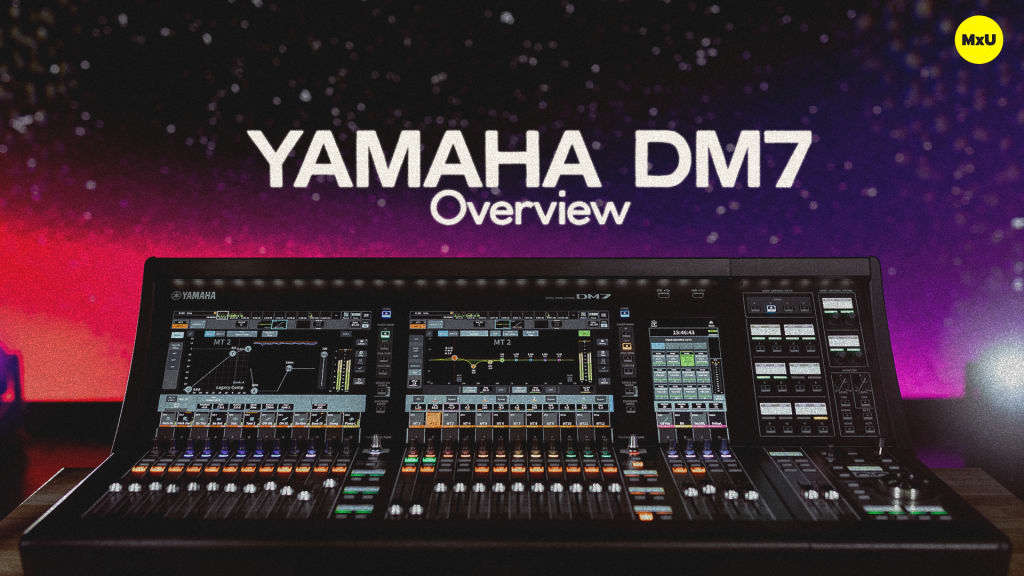


Menus on the DM7
Jeff dives into the key setup and configuration aspects of Yamaha’s DM7 mixing console. This is especially helpful for those encountering the DM7 console for the first time, as Jeff provides a comprehensive guide to its menus, features, and customization options.
Key Points:
- The user interface on the DM7 is easy to use. With a menu button at the top right, users can easily access all necessary settings and preferences without navigating through complex menus.
- For front of house engineers, the delay compensation ensures phase alignment and timing accuracy throughout the signal chain, regardless of plugin usage or signal routing.
- Adjust the console’s general settings, including the brightness of encoders, lights, and global fan and power controls from the menu.
- Users can customize the console to fit individual working styles, including confirmations for changes, surface preferences, and sends on fader modes.
- Configure buses as either variable or fixed, accommodating different mixing requirements.
- A notable feature that offers flexibility in signal routing, is the ability to create unique send points for every input to every output, catering to complex monitoring needs.
- Digital preferences can be adjusted, including world clock settings for Dante integration and other network-related configurations.
- The recorder and live record functions offer internal recording capabilities, both in MP3 and WAV formats, and multi-channel recording options directly from the console.
- The DM7 console offers both grid and list views for patching, with an added ‘universe view’ for navigating large Dante networks easily.
- Learn how to insert plugins, manage DSP usage, and utilize the onboard effects rack.
Courses
Categories
Audio
201
Team Videos
Premium Videos
Nothing added