Setting Encoders to High Pass Filters on the DM7

Continue watching
Sign up to continue watching Setting Encoders to High Pass Filters on the DM7
Pricing
Starting at $19.95 /mo
More in MxU
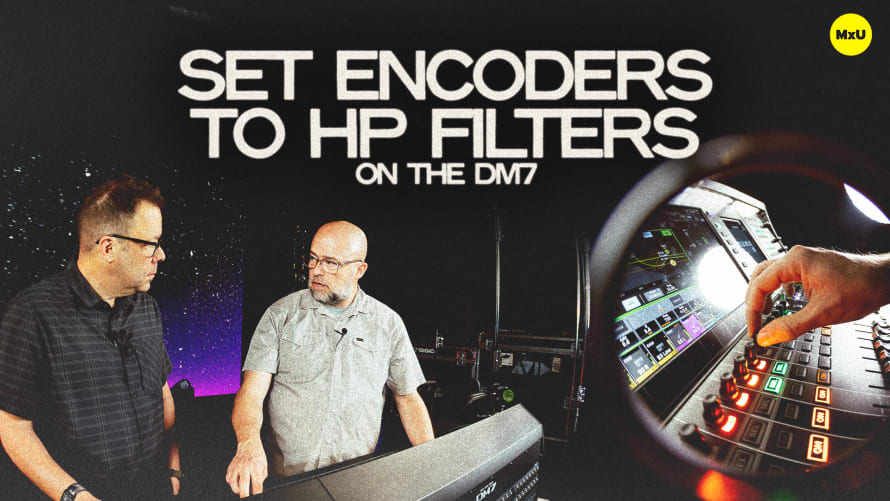
Apply high-pass filters to inputs while building a show file on the Yamaha DM7. Jeff and Russ provide a details guide on efficiently setting high-pass filters for various channels in a live setup, highlighting the console’s features and workflow efficiency.
Key Points:
- There is a general assumption that most live PA inputs, except for certain instruments like the kick drum, will require a high-pass filter. This is true, and an essential step before diving into more detailed EQ or compression settings.
- Using the DM7, it’s easy to select the high-pass filter for each channel. Adjusting the frequency to your desired level is easy using the ‘touch and turn’ knob.
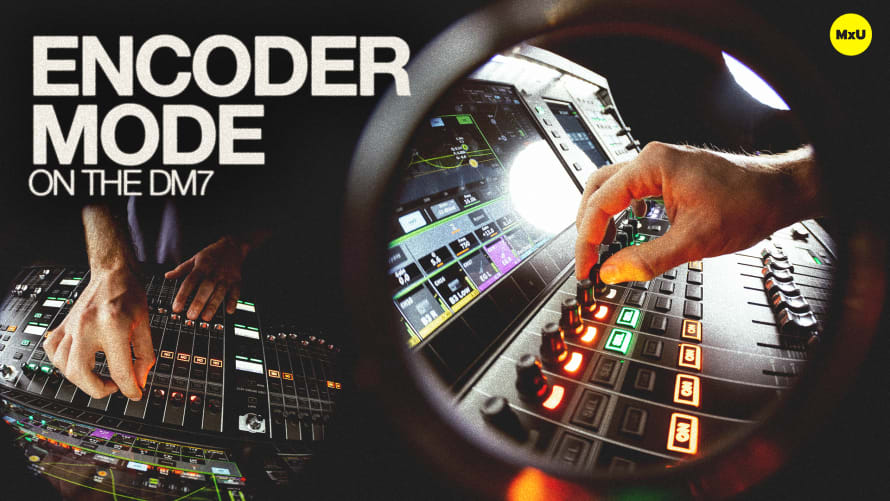
- A significant feature of the DM7 is the encoder mode, which allows for rapid adjustments across multiple channels. By selecting the HPF frequency option in the encoder mode, all encoders on the console become dedicated to adjusting high-pass filter frequencies, streamlining the process.
- A sweepable high-pass filter, like on the DM7, allows for precise and situation-specific adjustments, unlike older consoles with limited high-pass options.
- Roughing in high-pass filters is a good starting point, but adjustments should be made based on the specific microphone, vocalist, and room characteristics. Each day and venue might require different settings even with the same setup.
- The DM7 offers multiple slope options for the high-pass filters, providing additional control over how sharply frequencies are cut off. This feature offers further customization based on the audio source and desired sound.
- A high-pass filter can get the mix 90% of the way there with minimal additional EQ needed. A good source, a well-set high-pass filter, and proper fader adjustments are often sufficient for a successful mix.

